undeen.com
Here's the PDF version.
Otherwise, navigate at will OR move sequentially through the items, which are numbered in the bottom right corner.
Welcome to My Portfolio!
Hi there! My name is Don Undeen, and this is my portfolio.
On this page you'll find a handful of works I've designed and built that I think give an indication of the kind of designer I am; someone who cares a lot about making the most of materials and tools at hand, and building environments and platforms that help bring out the creativity in others, with a bit of humour thrown into the mix.
To learn more about any project click the title of the box. If the box doesn't expand, it means something when wrong, and you should probably just download the PDF version of this portfolio.
Table of Contents
Click any of the links below to automatically open that project.- 1The Maker Hub: Designing and building makerspaces and their communities.
- 2The Maker Hub Volunteer App
- 3The Maker Hub Recycled LCD Screen Display System
- 4The Maker Hub Jukebox
- 5Vagina Chorus: Providing technical support and collaboration with multi-media artists
- 6QR Code Watch Face: Tell the time with QR Codes.
- 7Interchangable LEGO Art Parts: Integrate cultural content into your LEGO play.
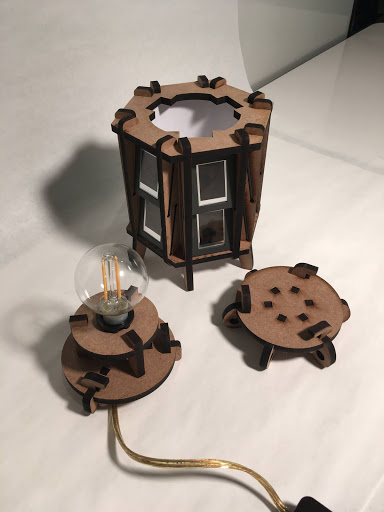
- 835mm Art Slide Lamp: A series of Lamps made from 35mm Art Slides
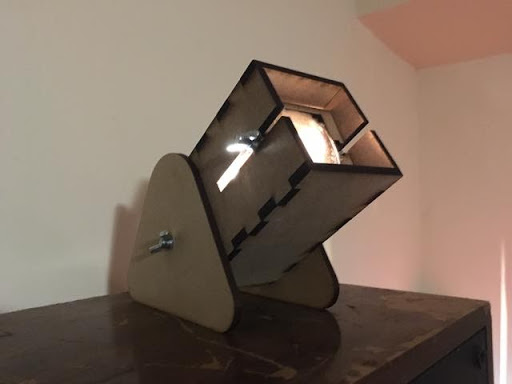
- 935mm Slide Projector: A small short-throw slide projector for creative lighting.
- 1035mm Micro Museum: A desktop slide lightbox you can plug into your laptop.
- 1135mm Slide Construction Kit: A simple kit for making unique structures from 35mm slides.
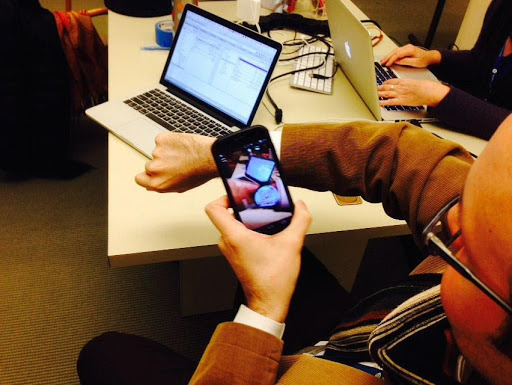
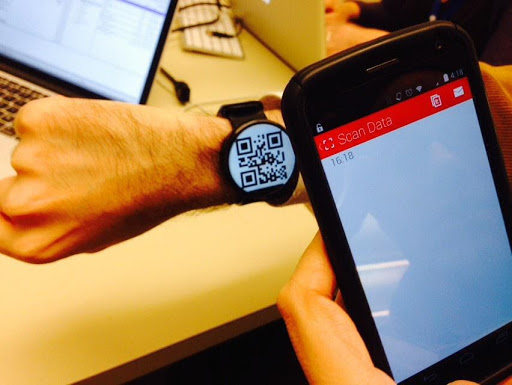
Inspired by the QR Code Clock (https://www.youtube.com/watch?v=DLVAhHYnrbo), but poking fun at the excitement over smart watches, the QR Code Watch Face is a critique wrapped in a simple joke.
Installed as a custom watch face on the Moto360 smartwatch, the QR code changes every minute. When the user wants to know the time, they take their smart phone out of their pocket, open up their QR code reading app (in 2015 this was not built-in to the camera), point it at the watch, capture the image, and view the translated QR Code as the time on the phone.
With this project, I wanted to create something that 1) makes you laugh, but 2)also surfaces and questions the multiple layers of technological mediation that we allow into our lives, perhaps unnecessarily. What convenience do we gain? What power do we relinquish?
QR Code Watch Face was installed on one friend’s watch, and sadly the code has been lost. Ironically, my friend stopped using this device when the Moto360 support was discontinued. Another example of the complexities of technological interdependencies.
“How do we promote a ‘Maker Mindset’ in a University without an engineering, architecture, design, or education program?”
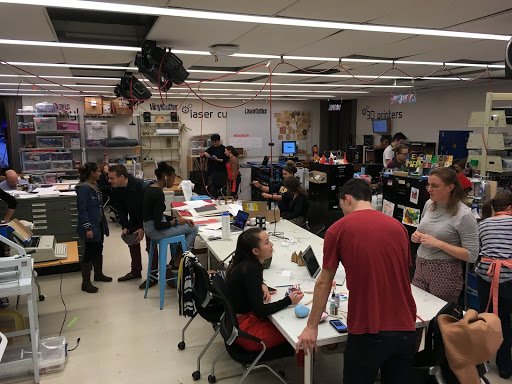
The Maker Hub is Georgetown University’s only makerspace open to all students, staff and faculty, in the University’s main library. Visitor projects may be course-related, entrepreneurial, or purely personal, and almost all supplies are free.
I was hired in August of 2016 to turn an empty room with a couple 3d printers into a functioning makerspace. I approached this as a human-centered design problem, focusing first on the experience we wanted our visitors to have.
The Georgetown community is primarily liberal arts focused, with a strong social justice component, and a large business school. Therefore we don’t have a large base of highly technical students to draw from.
Through stakeholder meetings, leadership strategy sessions, and observation of interaction in the space, we identified some guiding principles:
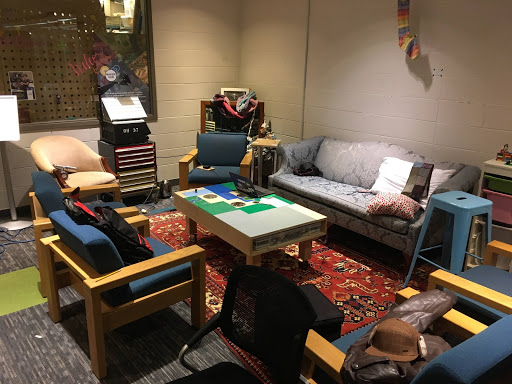
- Create an environment that people WANT to be in
- Low barrier to entry for non-technical and poorly resourced users
- Everyone deserves to feel welcome and wanted, from their first visit
- Create memories and capture stories
- Shorten the design-build-test-repeat iteration cycle
- The people that use the space are invested in its future
These principles guided our decisions about tool selection, the built environment, policies, staffing, and programming.
Tool Selection
We purchased fabrication systems that are easy to learn, inexpensive to repair, and have a low cost for consumables. This lowers the barrier to entry, shortens iteration cycles, and increases the number of successes visitors have during their first visit.
The Built Environment
“How do we design a room that encourages curiosity and community?”
The Maker Hub was designed to maximize available work surfaces in a small footprint, while permitting multiple interaction types. To achieve this, we built disciplinary workstations (3D, Sewing, Woodshop, etc) around the perimeter of the space, with a long central table in the middle). This allowed both for isolation and concentration in workstations, and socialization and cross-disciplinary work in the middle. Friends and memories are made in our central table when students share their work.
We built an entry station with a custom ID card reader at the front door, on a long thin table that clearly delineated the “welcome zone,” where volunteers would greet visitors and establish the ground rules for use of the space. This ensures that every visitor who walks in the door is made to feel like they belong.
Staffing
We established a volunteer program whereby students serve one 2-hour shift per week, and in return get expanded access to the space. Volunteers additionally receive special training on the tools, and participate in monthly all-staff meetings to generate new ideas for the space based on our experiences with our visitors. This volunteer community of 30-50 students per semester provides continual reinforcement of community values, a broad knowledge base of experience and skills to support sophisticated projects, and a network of advocates throughout the university. This supports our principles of lowering the barrier to entry, creating a welcoming environment, and building a community that is invested in the future of the Maker Hub.
Programming
To lower the barrier to entry and shorten the iteration cycle, we focused less on one-off workshops, and more on maximizing the one-on-one, drop-in learning experience between our visitors and our volunteers. Through the volunteer training program we ensure that there is usually someone on hand to help with any tool in the space. Visitors can drop in and immediately get help with a project. This is more scalable than scheduling a wide range of workshops. We did discover that there is an audience segment that is uncomfortable with this model, and we designed introductory workshops specifically to attract this group.
TLDR: Watch this video
This 10-minute video of the Maker Hub provides an overview of the space, its tools, and our approach to empowering first-time makers to turn their ideas into reality.
“How do we improve the experience for volunteers helping visitors?”
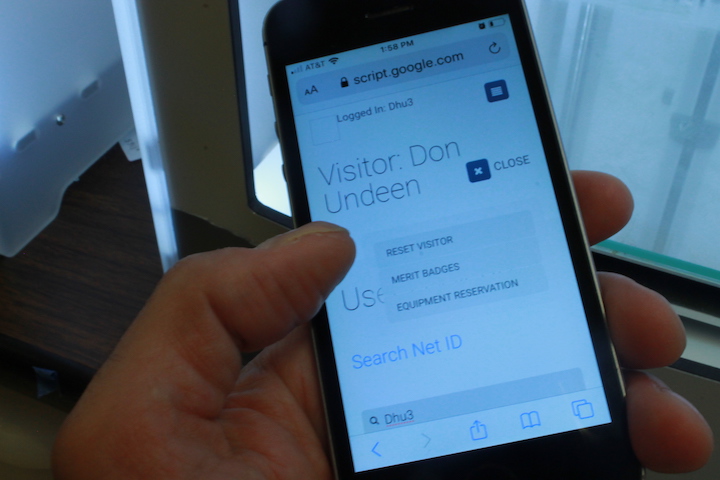
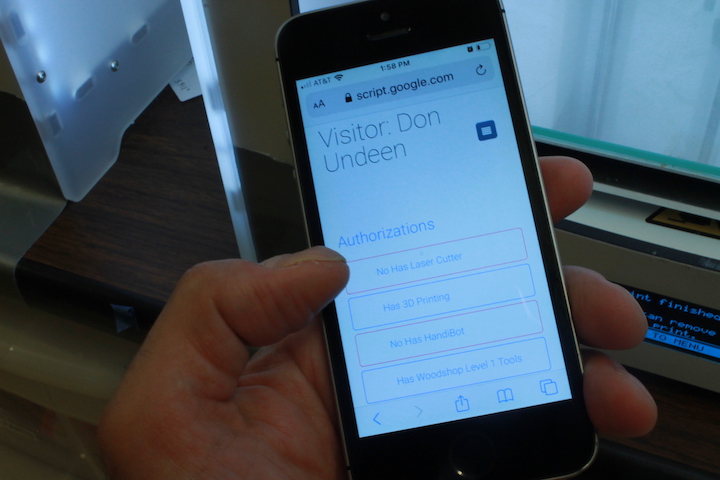
This app was designed through a series of facilitated volunteer brainstorming sessions, asking the question “How do we improve the experience for volunteers helping visitors?” We identified our main pain point, which was the fact that with a large number of low-hour volunteers and many new volunteers each semester, it’s hard to maintain awareness of who is available to help with a tool or skill. This leads to awkwardness between volunteers when they encounter a situation they don’t know how to handle.
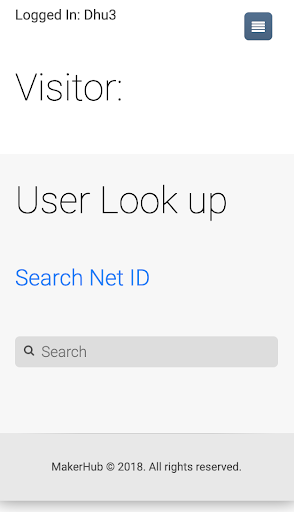
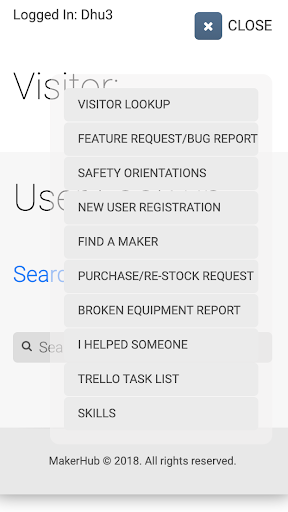
The resulting app is designed to be used by Maker Hub volunteers as they support visitors in the space, during their shift. Some of the features include:
- Tracking new volunteer skills, identifying paths for skill improvement
- “Find a Maker” - identify schedules for volunteers with specific skills
- New visitor orientation scripts
- Making equipment reservations
- Requesting equipment purchases, repairs
- Integration with our Trello task system
What are we going to do with all these screens I found in the dumpster?
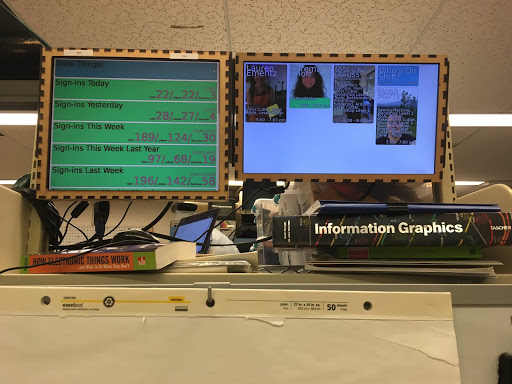
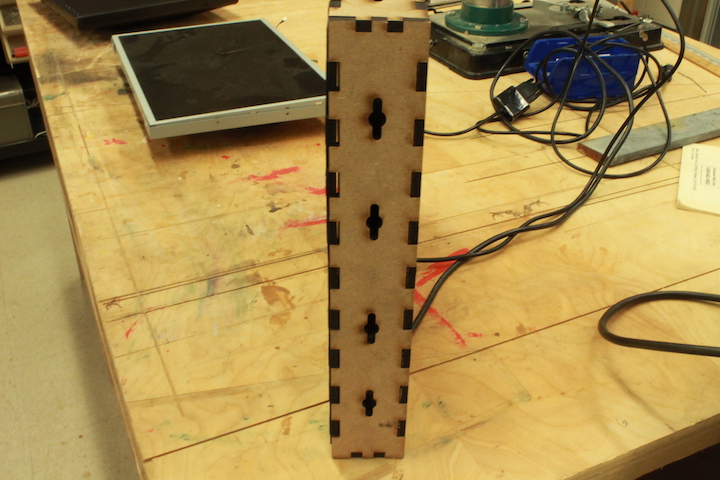
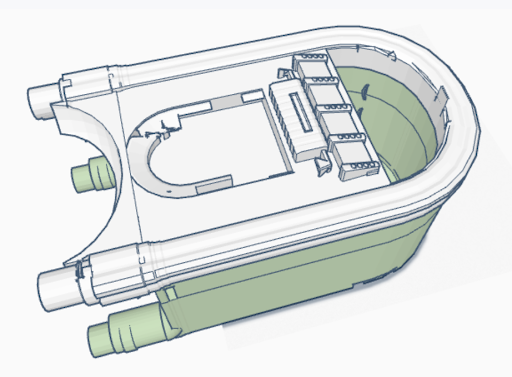
LCD monitors are discarded by the hundreds or thousands when organizations upgrade their computers. We retrieve old monitors from campus dumpsters, remove their plastic housing, and create laser-cut housings for them with modular mounting components. These screens can then be hung on walls, mounted on railings, or stacked in arrays. Each screen has a Raspberry Pi computer in a 3D printed case attached to the back. The Pi’s are typically configured with Chilipie-Kiosk (https://github.com/futurice/chilipie-kiosk), a full-screen kiosk display app.
The apps running on these screens are typically built in Google Apps Script, and leverage Google Slides, Calendar, and Sheets
In the Maker Hub, these screens have been used for:
- Reservation Calendar Display: Google calendar data reformatted for improved readability.
- Maker Hub Stats Dashboard: Information on total, unique, and first-time visitors, over multiple time frames.
- Who’s On Shift: A listing of staff currently on shift, their picture, and their skills.
- Events Slideshow: A Google Slides display of upcoming events, auto-generated from our Google Calendar.
The Maker Hub Jukebox is a system for playing music in the Maker Hub. The heart of the system is a mid-century Seeburg 100 Wall-o-Matic jukebox controller, like you might find on your table in a 50’s diner. When a keycode is entered on the jukebox, the output signal from the unit is intercepted by an arduino circuit, which translates the electrical pulses back into the letter/number combination originally entered. This code is then transmitted wirelessly via XBee radio to a Raspberry Pi running the Mopidy music server application. My custom software maps the keycode to a Spotify playlist and instructs mopidy to stream that playlist.
Maker Hub visitors are encouraged to create their own playlists and add them to the system. We’ve found this to be a great way to help students feel like they belong in their Maker Hub.
We also have a special playlist just for closing time, which is just different versions of Semisonic's "Closing Time." We've found this to be a great way to encourage folks to move out the door :).
- Developing systems that integrate with the human body. Via smoothing and dynamic scaling algorithms, this system adapts to diverse bodies, allowing them to control musical systems in harmony with one another.
- Developing complex systems that employ multiple communication protocols over heterogeneous devices, while still being robust enough to run smoothly at boot.
- Collaborating closely with artists to develop technical systems that realize their vision.
In the U.S., an estimated 45 percent of people who have vaginas experience symptoms of urinary incontinence. The project aims to increase pelvic health literacy, aiming to lift the shame and negativity attached to pelvic health, sexual wellness and aging.
“A recipient of the 2020 MAP Fund, Vagina Chorus is a social-distancing friendly live performance, combining wearable technology, theater, physical therapy-inspired choreography and vaginally produced music to create an immersive audio-visual experience. Exposing the most intimate secrets of our bodies and destigmatizing historical taboos, the project will create an affirming context in today’s world for vaginas to morph into new myths for positive reinterpretations, foregrounding womxn and their vaginas as the narrators of their own representations. The project is scheduled to premiere in 2021, with presenting partners in Connecticut, Pennsylvania, Virginia, New York and Alabama.” - Althea Rao, Artist, Vagina Chorus
I serve as the technical advisor and developer for this project. My role is to develop the system whereby the Perifit pelvic floor trainer controls musical gestures over a harmonic structure that can be modified by the artist or other collaborating musicians.
This system consists of
- Multiple Perifit pelvic floor trainer devices, communicating via Bluetooth Low Energy Protocol
- Raspberry Pi: Accepts communication from Perfit devices, attaches information to identify individual devices, and passes OSC data along to laptop via a customized WiFi router to laptop. The Raspberry Pi is configured to auto-start all software at boot.
- Customized Router: The use of a customized dedicated router ensures that the system is entirely self-contained and not dependent on installation location network.
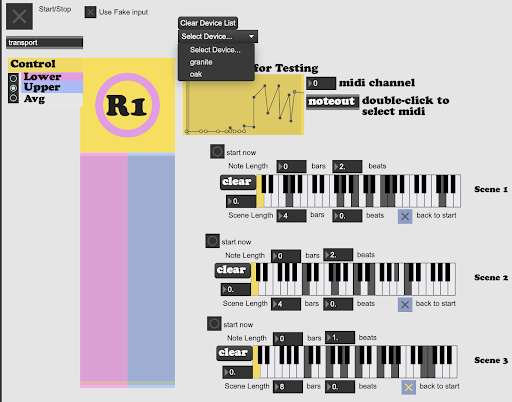
- Laptop Running Max 8 and Ableton Live Suite. The Max Patch accepts OSC data from multiple devices, applying smoothing and scaling algorithms, then mapping the data over a customizable set of “scenes” that define harmonic and rhythmic structure. This data is converted to MIDI notes that are sent to Ableton Live. Ableton Live settings and tones are controlled by the artist or collaborating musicians
The short video below demonstrates how the system creates sound from interation with the device
How can crowdsourced museum scans become fun and useful through low-cost 3D printing?
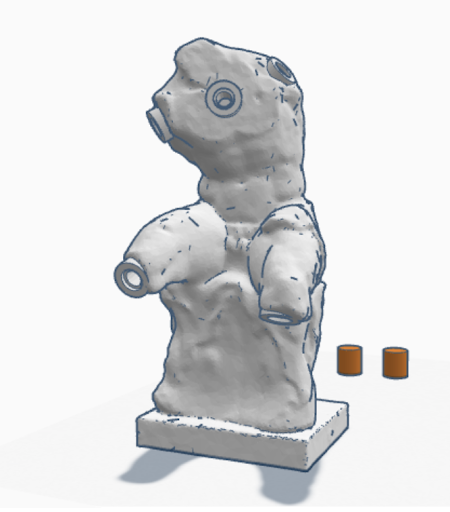
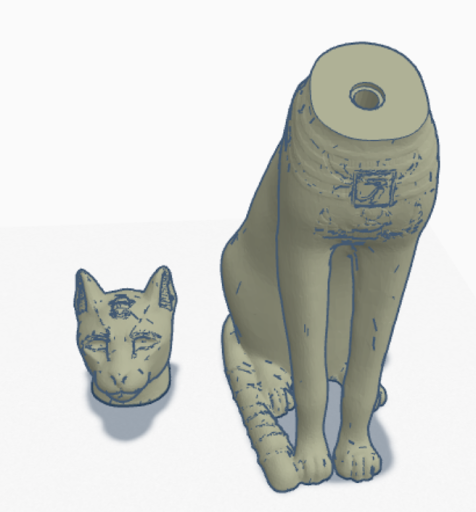
My Interchangable Art Parts project was an effort to do something fun with the wealth of 3D scanned museum objects being made available for free on websites like Thingiverse.com and ScanTheWorld.
This trend of crowd-sourced, low-fidelity photogrammetric scans of museum objects was due in some part to the first-ever 3D Scanning and Printing Hackathon, which I produced at the Metropolitan Museum of Art in partnership with MakerBot. I’m therefore interested in demonstrating the educational, artistic, and commercial value of this content.
Considering also that the design of basic LEGO pieces is no longer under patent or copyright, it’s possible to freely reuse LEGO components in 3D printed work.
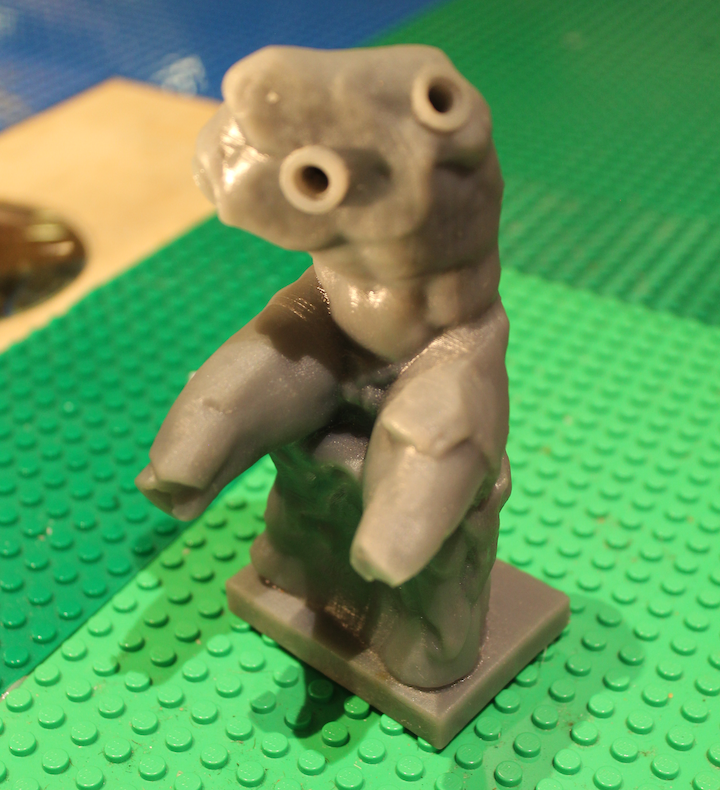
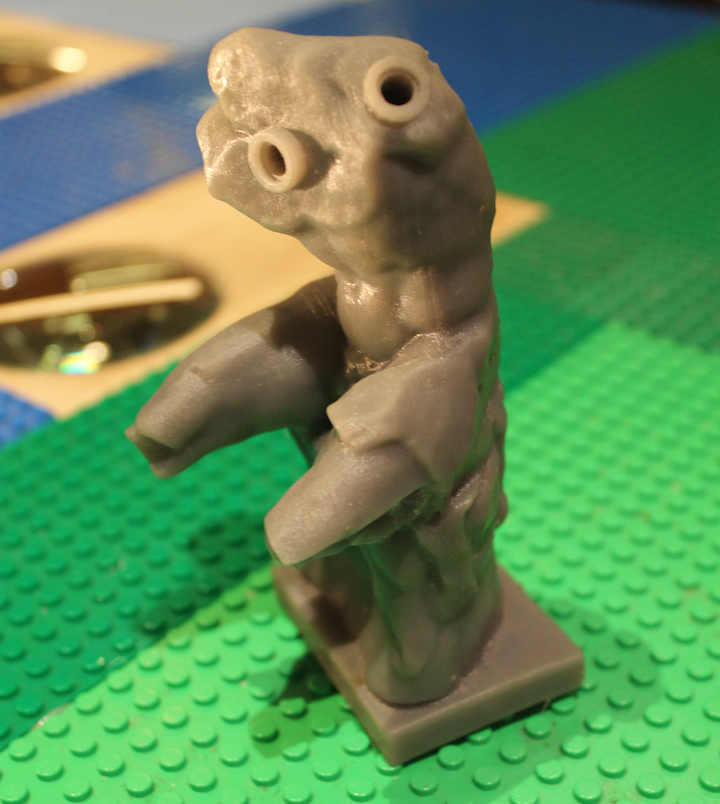
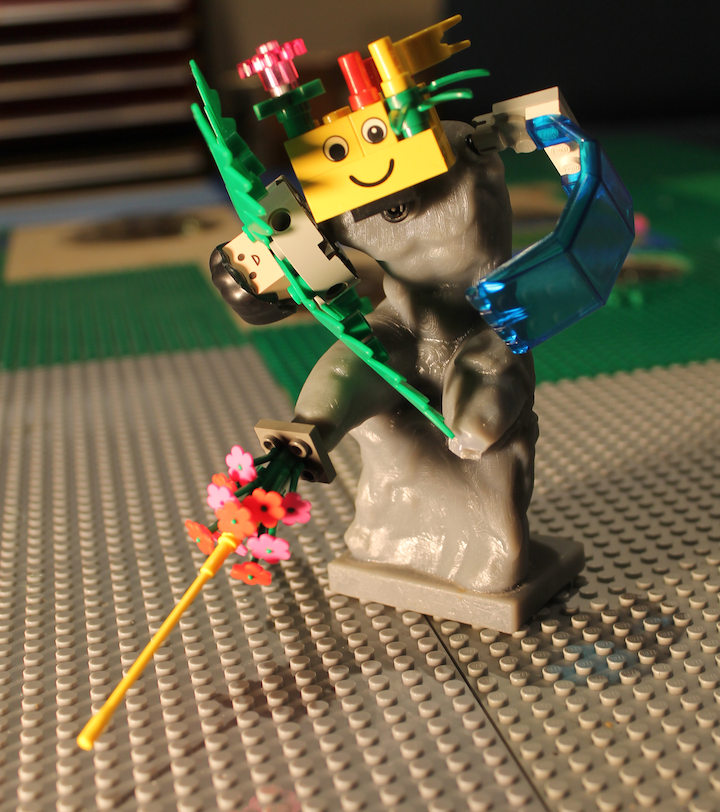
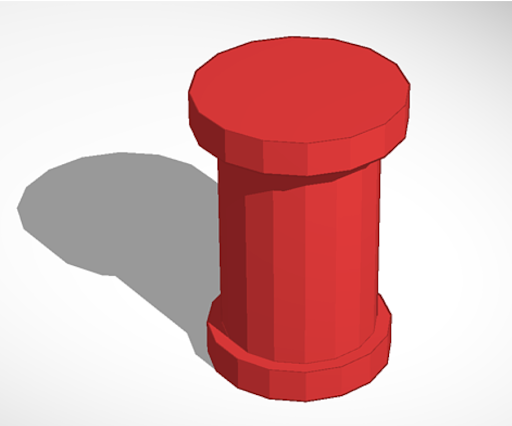
LEGO Art Parts consists of 3D scans of museum objects, split into parts and modified with holes that fit the LEGO axle part. The LEGO axle hole is large enough to print successfully on low-cost 3D printers, and the original axle can be purchased in bulk so it doesn’t have to be 3D printed.
The result is a set of sculptural parts that can be remixed with each other, or integrated with the rest of your LEGO set.
NOTE: The 3D models of museum objects are not my original work. My original work is the design of the LEGO axle hole, and the modifications to the museum 3D scans to divide them into parts and add the LEGO axle hole.
The Micro-Museum is a small lightbox for a single 35mm slide, designed to sit on your desk, plugged in to a USB port.
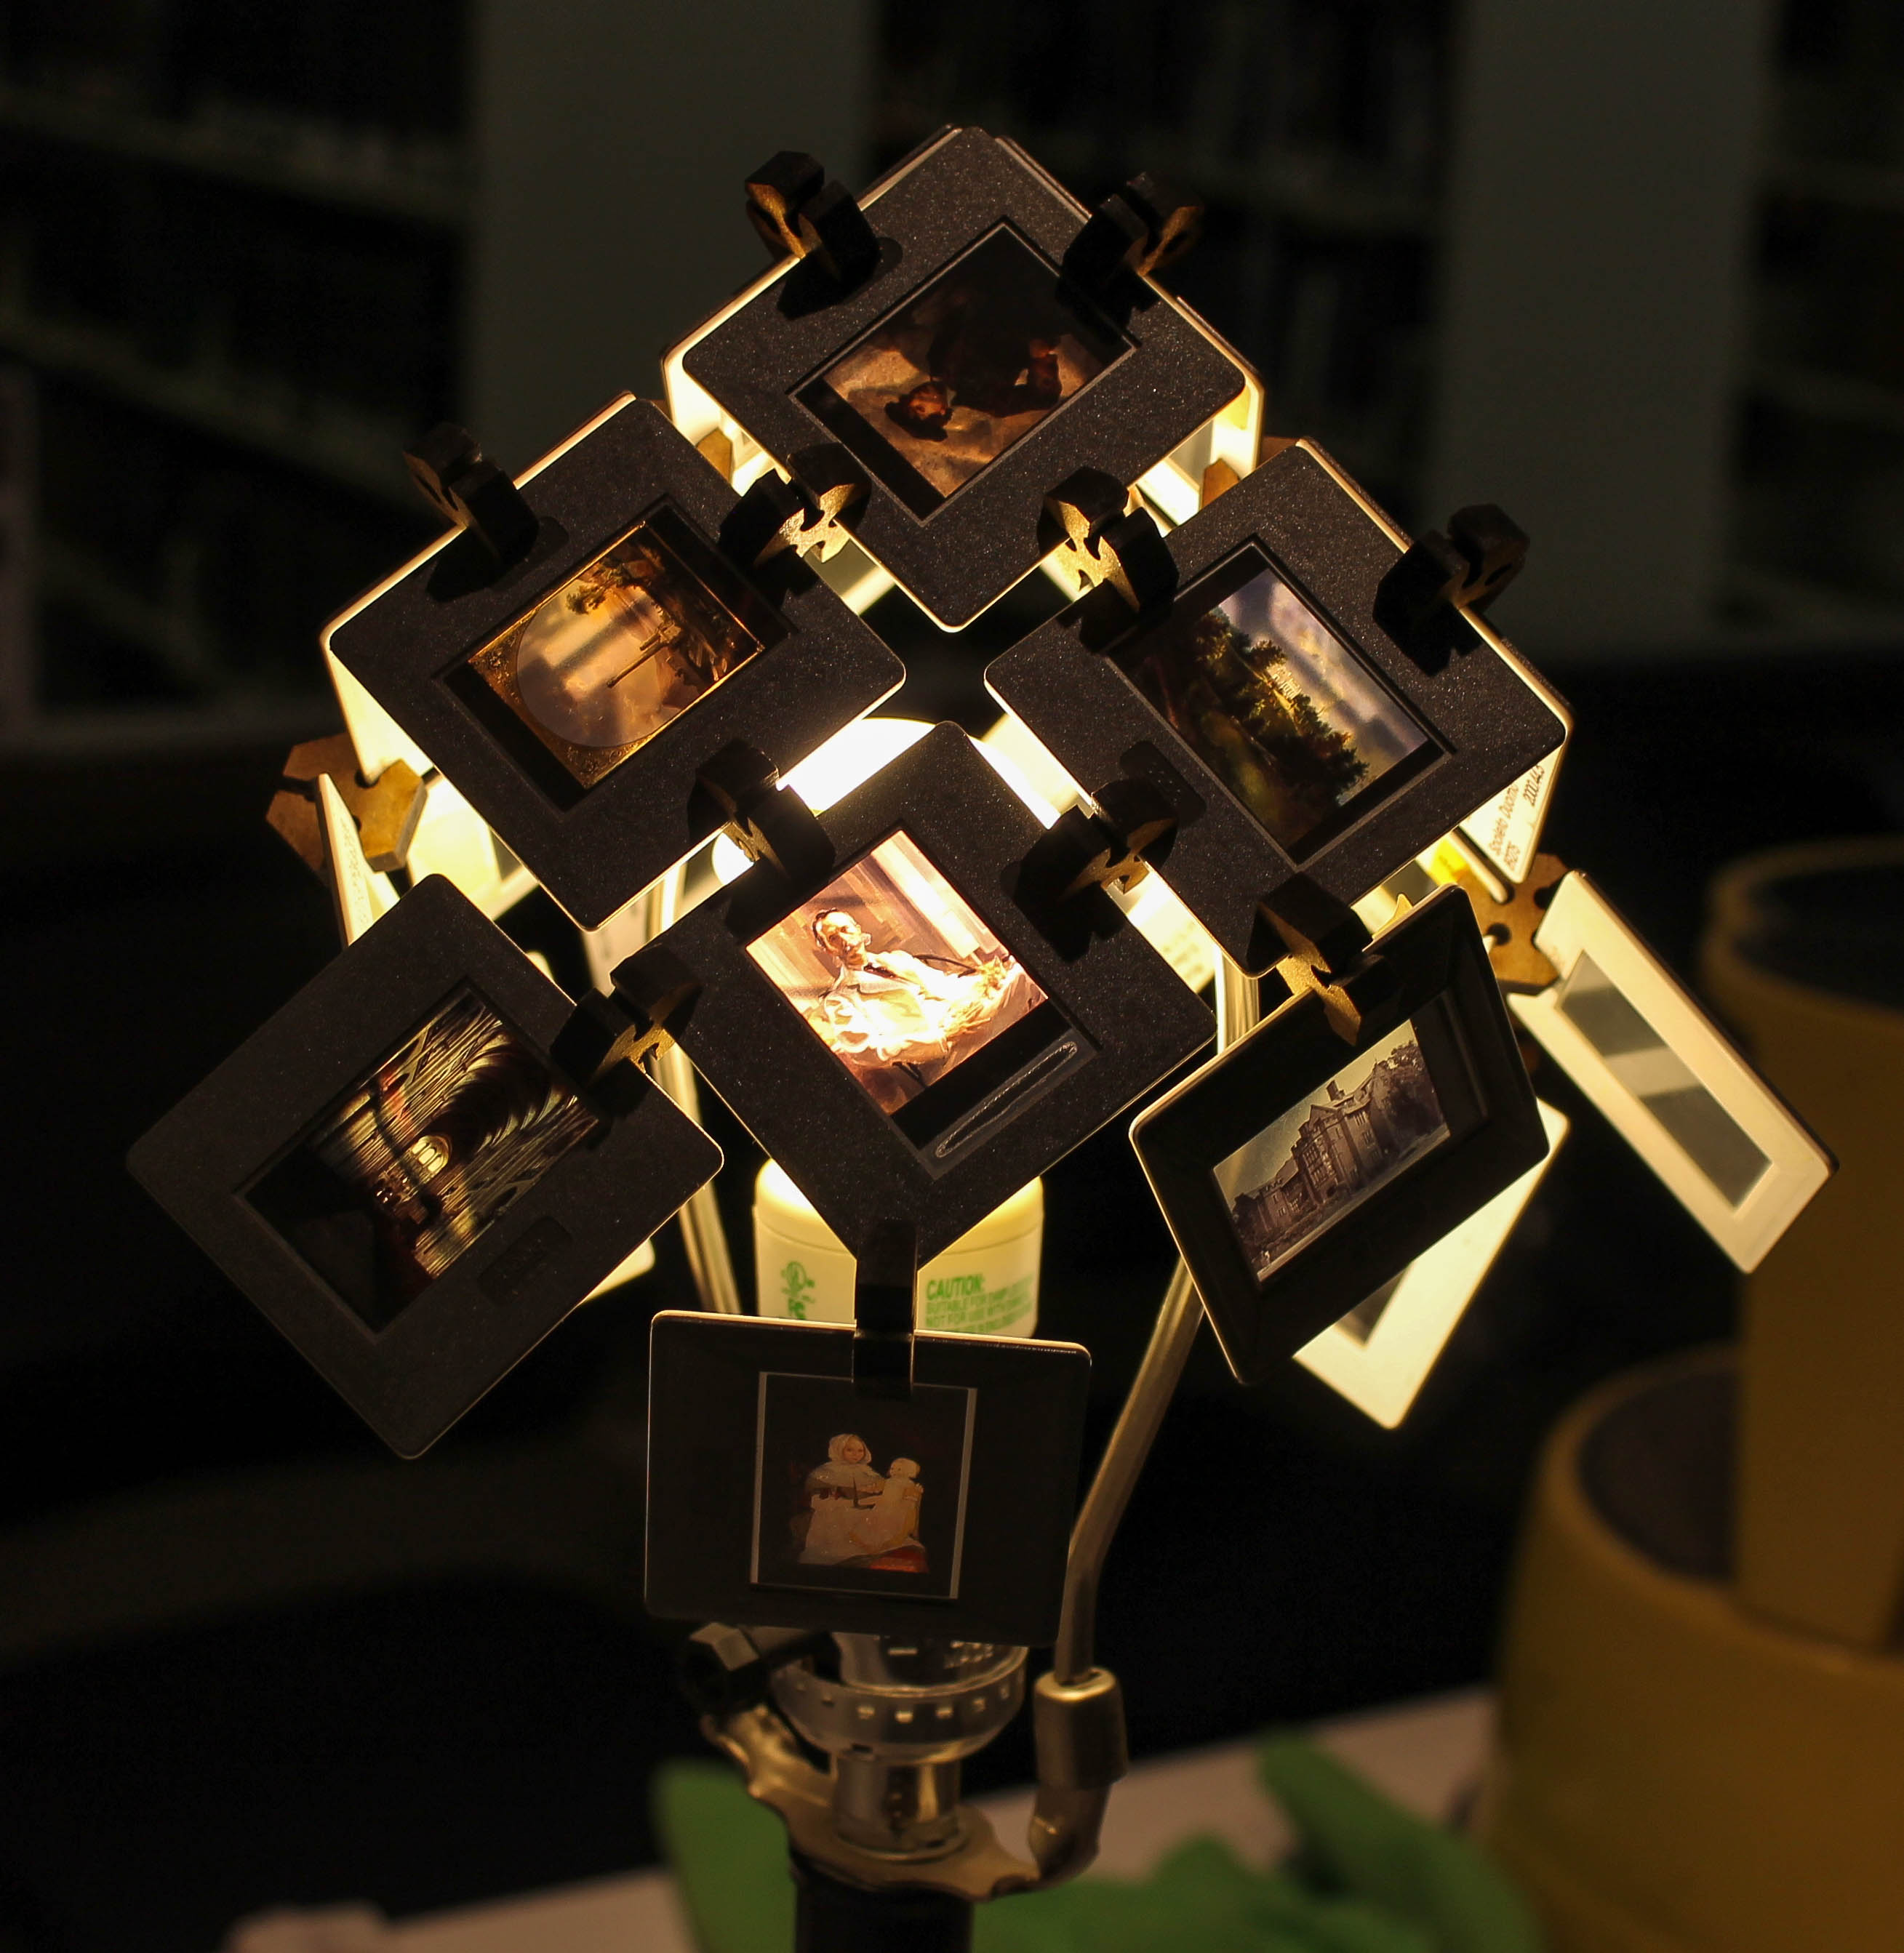
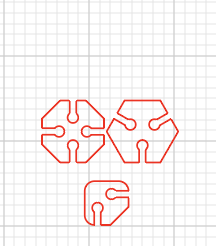
The Slide Construction Kit is a set of small components that can connect slides together in a variety of angles, allowing infinite possibilities for structures and shapes. I built this to make it easy to prototype lamp projects, but it turned out to be a fun activity on its own.

